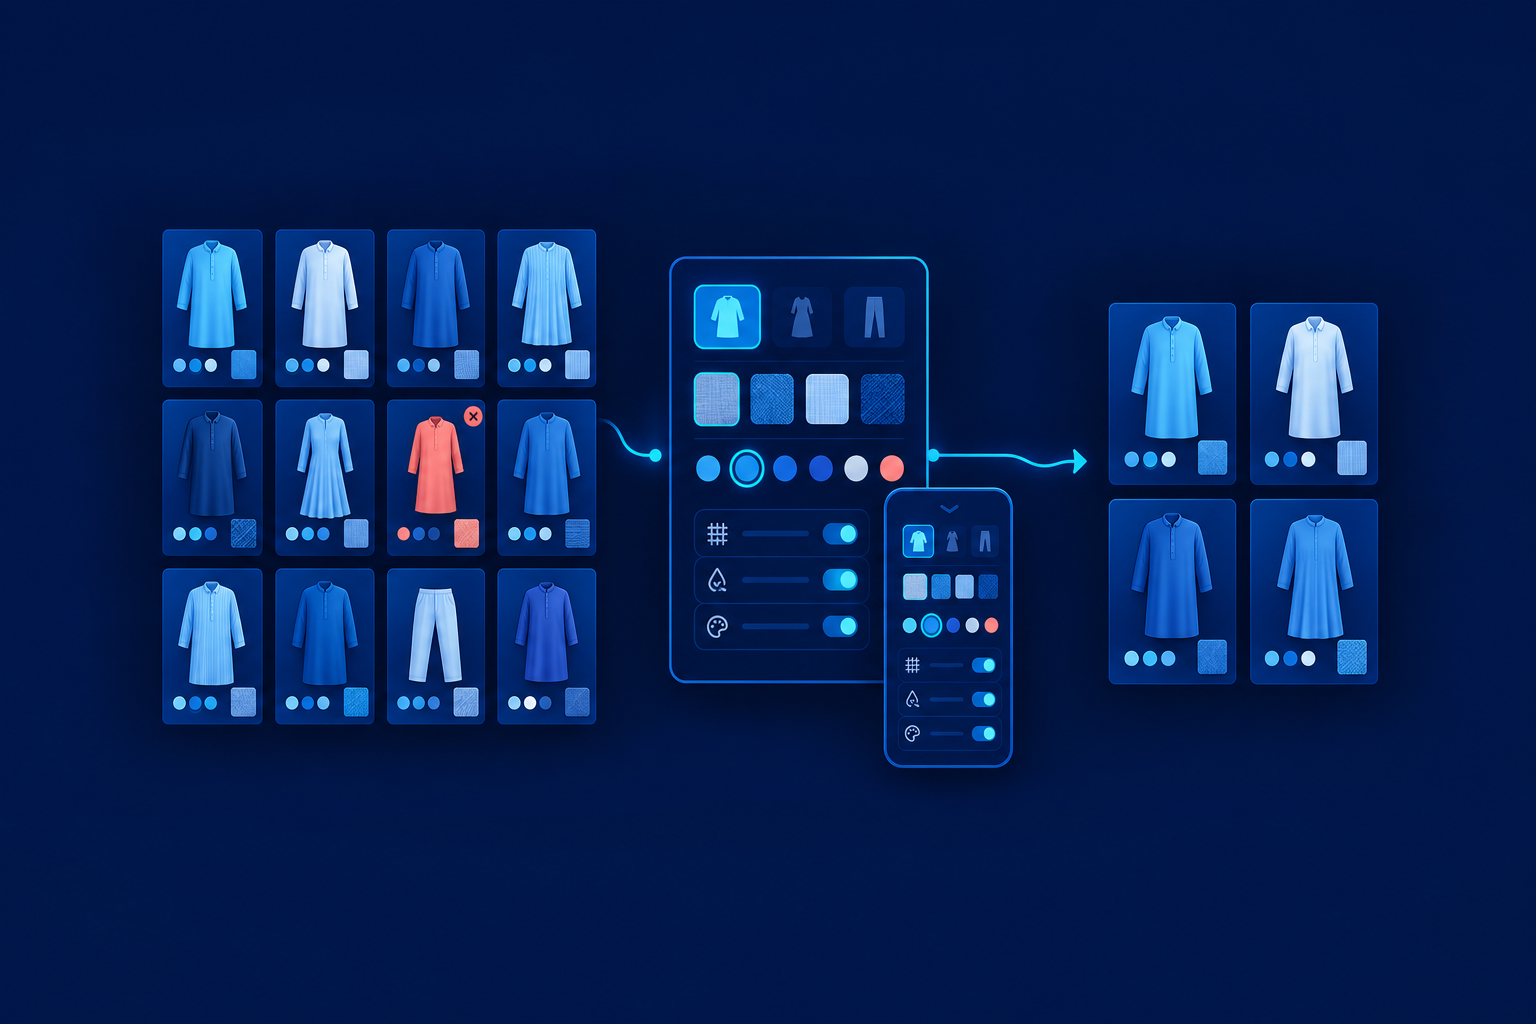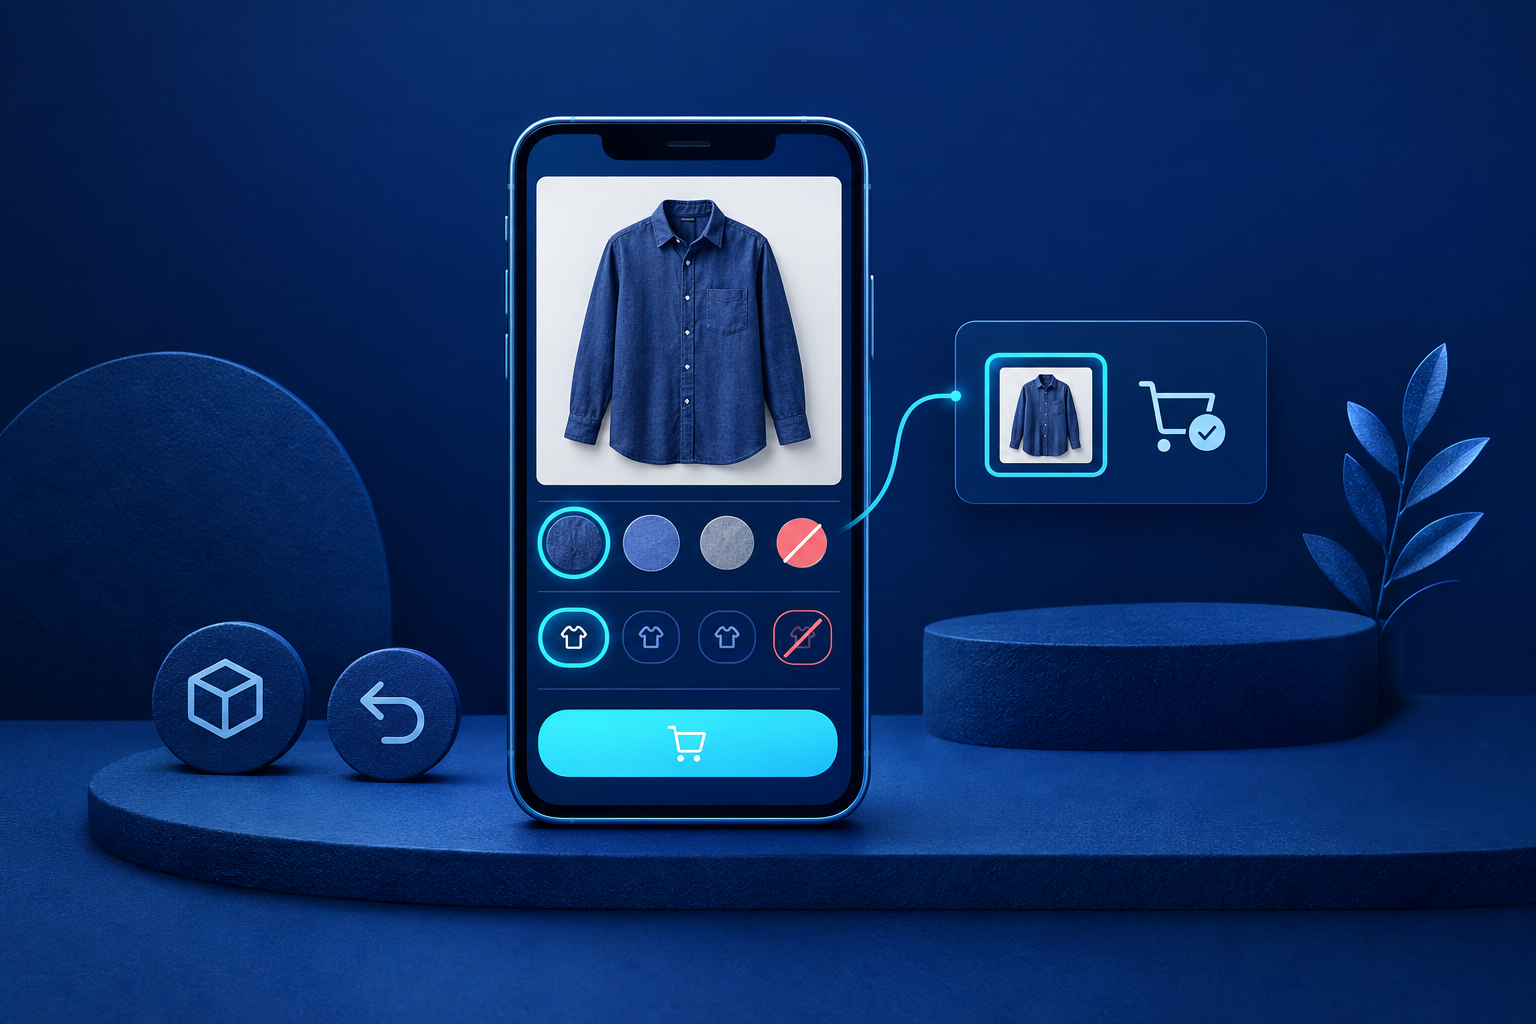

Before buying a Shopify theme, agree what you will sell, how customers will find it, how orders will be paid and dispatched, and who maintains the store. Turn those decisions into sample product data and acceptance tests. Shopify store planning should produce an operating brief first; the theme must demonstrate that it supports that brief.
This guide assumes you have chosen Shopify. The task is to coordinate merchandising, stockroom, finance and support before approving the build. Platform facts follow the supplied Shopify documentation research checked on 5 November 2026. The worksheets and tests are recommendations; provider approval, courier arrangements and compatibility require store-specific checks.
1. Define product pages, variants and sellable SKUs
Separate launch stock from future ranges. Give distinct designs their own pages when customers need different descriptions or imagery. Use variants for choices within a product, such as size and colour. Assign each sellable unit a unique SKU: your internal stock identifier. Your catalogue sheet should contain one row per SKU, mapped to its product page.
Shopify documents up to three options and 2,048 variants per product, but warns that some themes, apps and channels have limitations above 100 variants. Capacity is not compatibility. [1] Decide whether bundles, personalisation or made-to-order goods belong at launch. A text-entry box alone does not resolve stock allocation, production instructions or dispatch timing.
2. Map collections to customer buying decisions
Create a collection map recording customer purpose, inclusion method, sort order, navigation label and owner. Our textile shop needs an enduring Cushion Covers category and a curated Festive Edit. Manual membership offers editorial control but needs maintenance. Condition-based inclusion reduces repeated selection only when product data stays reliable. Shopify documents both approaches; check your store’s interface rather than assuming every collection screen is identical. [2]
Keep internal tags such as stock-check-needed separate from customer-facing labels. Agree where collections appear in navigation and who checks membership after product changes. More collections can support campaigns, but create maintenance work and overlapping choices. Start with categories customers recognise, not every distinction the stockroom uses.
3. Agree the product-data contract
Define which fields must be complete before publishing. Shopify distinguishes its standard product category, your merchant-defined product type and tags. Metafields provide structured extra information, such as material or care instructions. [3] Use one size convention rather than mixing Medium, M and medium. Consistent values support customer understanding, collection rules and useful filters.
| Data group | Required evidence |
|---|---|
| Identity and choices | Approved title, category, type, SKU, option names and values |
| Buying information | Price, description, dimensions, materials, care and insert-included status |
| Photography | Agreed image order, detail shots and variant-specific images |
| Inventory and shipping | Checked quantities, stock location, weights and packing requirements |
| Structured attributes | Populated fields supporting required filters and page information |

Name required filters before assessing themes. For the textile shop, colour and size need representative values across several products. Configuring Shopify Search & Discovery filters does not make them appear in an incompatible theme. [4] Ask the developer to demonstrate your populated data, including unavailable variants, rather than an unrelated demo catalogue.
4. Plan dispatch and delivery exceptions
Shipping configuration must reflect physical work. Shopify shipping profiles connect products and fulfilment locations with shipping rules. Its documented shipping-options-by-market rollout means stores may see different interfaces. [5] Do not approve delivery promises from a settings screen alone: verify destinations, collection arrangements and service commitments with your intended delivery partner.
- Confirm stock locations, count ownership and who releases orders for packing.
- Record packaging, weights and any production lead time.
- Agree serviceable destinations, dispatch cut-offs and tracking responsibility.
- Test mixed carts and split shipments before publishing charges or delivery estimates.
- Name owners for failed delivery, damaged parcels, returns and customer updates.
5. Verify payments and reconciliation for your market
List required payment methods, then confirm provider onboarding, currencies, fees, settlement timing, refunds and dispute handling. A gateway listing does not establish approval or availability in your particular store. [6] Finance should trace a test order through payment, settlement and refund, identifying who investigates differences between orders, provider records and bank receipts.
6. Separate shopper and staff mobile tests
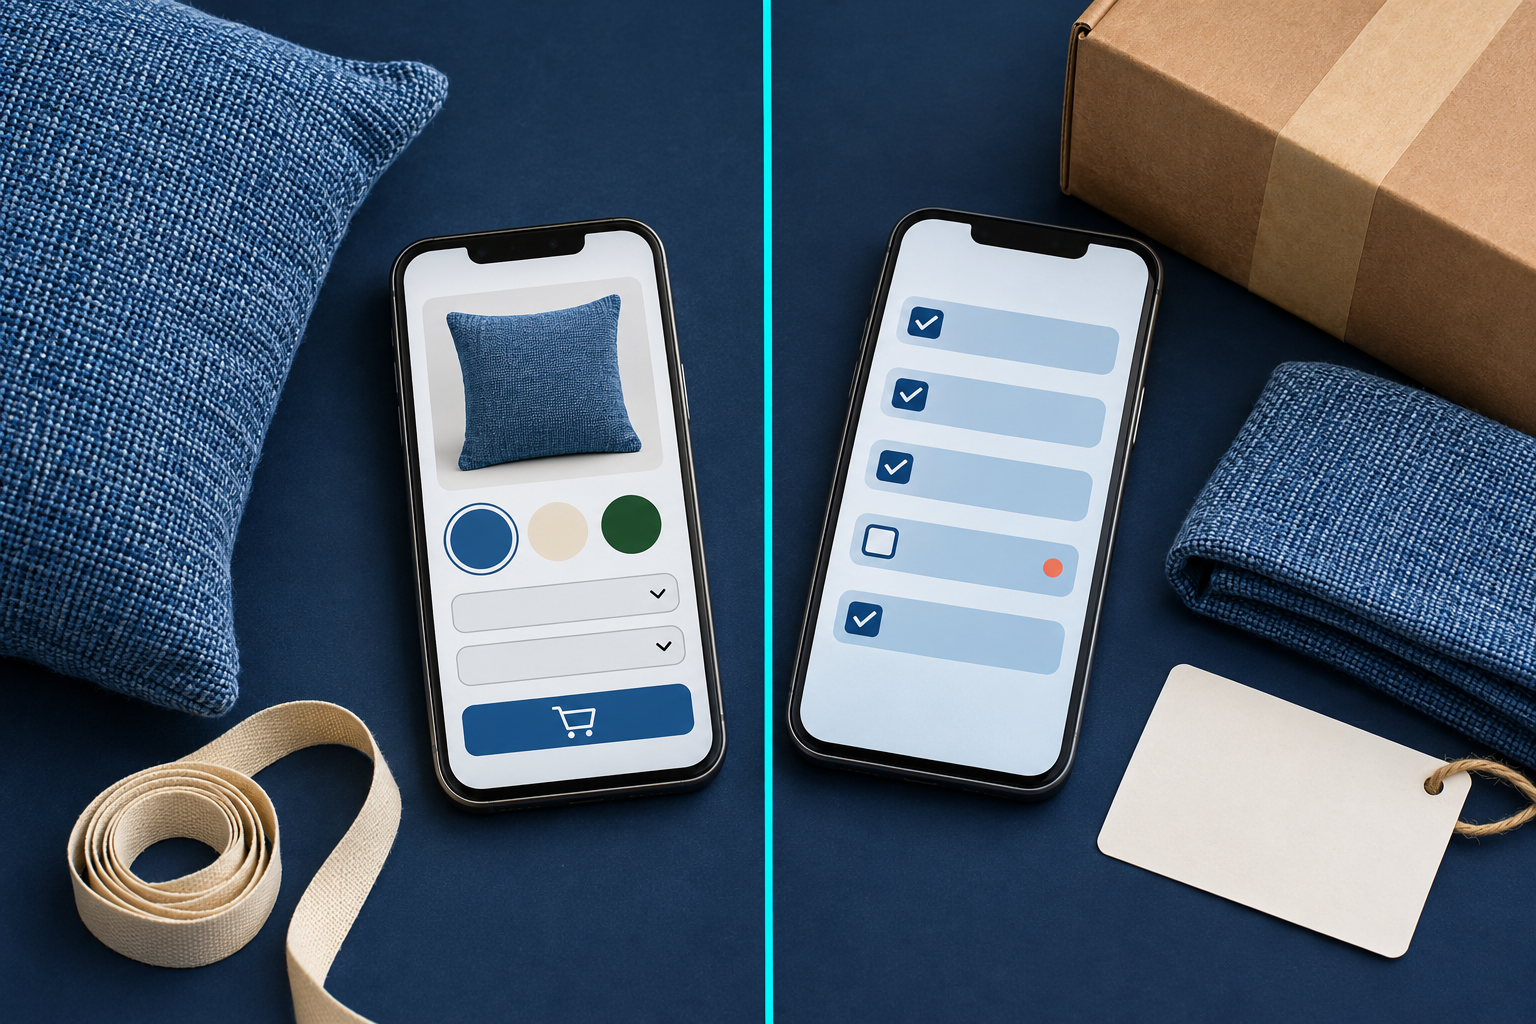
- Shopper: on actual phones, navigate and filter; choose variants; read measurements, availability and delivery information; edit the cart; complete successful and failed payment journeys.
- Staff: using individual permissions, demonstrate assigned order, customer and collection tasks; check access to necessary information and test any third-party app workflow.
Shopify app access follows user permissions. Viewing orders requires order-view permission; opening a customer profile from an order also needs customer-view permission. [9] Neither a mobile-friendly theme nor the Shopify app proves every third-party app works on a phone. Keep bulk data preparation on desktop unless the team demonstrates a workable alternative.
7. Name owners, backups and permissions
Record an accountable owner, backup, permission level and escalation route for each routine. Cover catalogue accuracy, collection membership, stock counts, dispatch, customer messages, refunds, settlements, COD reconciliation, apps and access reviews. One person may fill several roles. Confirm plan-dependent user availability and grant appropriate permissions; never build the process around shared owner credentials. [10]
| Routine | Accountable role | Backup or escalation |
|---|---|---|
| Catalogue and collections | Merchandising | Founder |
| Stock, packing and dispatch | Stockroom lead | Trained stockroom backup |
| Messages and delivery exceptions | Support | Stockroom lead, then founder |
| Refunds, settlements and COD | Finance | Founder approves exceptions |
| Apps and access reviews | Founder | Authorised technical support |
Replace role labels with names before launch, and record the permissions each person needs. A backup without access or training is not a workable backup. Keep the matrix with the handover notes and review it when staff change. For the ongoing process, see Keep control of the website after launch.
8. Approve a theme against evidence, not appearance
Give the developer representative products: a standard cover, an unavailable colour and products with different dimensions. Require clear cover-only information, reliable variant selection, usable filters and readable mobile layouts. Reject a theme that cannot meet essential presentation requirements. Hold approval when missing data or an unverified provider prevents a fair test; those are operational dependencies, not necessarily theme faults.
| Decision | Evidence or sample data | Accountable owner | Acceptance test |
|---|---|---|---|
| Product boundaries | SKU sheet mapped to pages | Merchandising | Correct variant and stock selected |
| Collections and filters | Collection map and populated attributes | Merchandising | Find a specified cover on mobile |
| Product information | Approved copy and photographs | Catalogue owner | Dimensions and cover-only status clear |
| Dispatch promises | Locations, packaging and destinations | Operations | Mixed cart priced and packed correctly |
| Payments and COD | Provider approval and reconciliation process | Finance | Payment status matches financial records |
| Daily access | Owner, backup and permissions matrix | Store owner | Each person completes assigned tasks |
Separate theme acceptance from whole-store launch acceptance. Failed payments, cancellations, refunds and partial fulfilment need end-to-end testing beyond layout checks; Shopify includes these in its setup checklist. [11] Use A website launch checklist built around what must work to organise the wider release. Demonstrate the verified mobile payment journey in the configured store, rather than treating payment-provider behaviour as a theme feature.
Can we shortlist themes before completing every product?
Yes. Complete a representative test catalogue first. Include your hardest realistic choices and information requirements; do not buy based only on polished demo products.
Should each colour have a separate product page?
Use variants when colours belong to the same product and share its core information. Separate pages can suit distinct designs, but increase content and collection maintenance.
Does enabling COD finish the payment plan?
No. You still need delivery-partner arrangements, remittance records, failed-delivery handling and an owner for reconciliation. A manual payment option does not establish those processes. [8]
Your next step is to complete the worksheet with merchandising, operations, finance and support. Load representative products, run the acceptance tests and record one decision for each candidate: approve, reject or resolve a named dependency first. Buy the theme when the evidence supports it, not when its demo looks closest to your preferred design.
Sources & further reading
Use the original guidance when checking details or planning implementation.
- Shopify Help Center | Adding variants ↗
- Shopify Help Center | Collections ↗
- Shopify Help Center | Product details ↗
- Shopify Help Center | Adding filters with Shopify Search & Discovery ↗
- Shopify Help Center | Shipping profiles ↗
- Shopify Help Center | Understanding payment gateway availability ↗
- Shopify Help Center | Supported countries for Shopify Payments ↗
- Shopify Help Center | Manual payment methods ↗
- Shopify Help Center | Using the Shopify app for iPhone and Android ↗
- Shopify Help Center | Roles ↗
- Shopify Help Center | General checklist for starting a new Shopify store ↗
This research-assisted guide uses the primary sources linked above. Examples are illustrative unless explicitly identified otherwise. Check original documentation when implementing changes.